- 24/7 Service available
How to Fix a Leaky Faucet: A Step-by-Step Guide and Tips
Common Plumbing Mistakes: How to Avoid Costly Repairs
3 July 2023
The Importance of Leak Detection: How to Identify and Prevent Water Damage
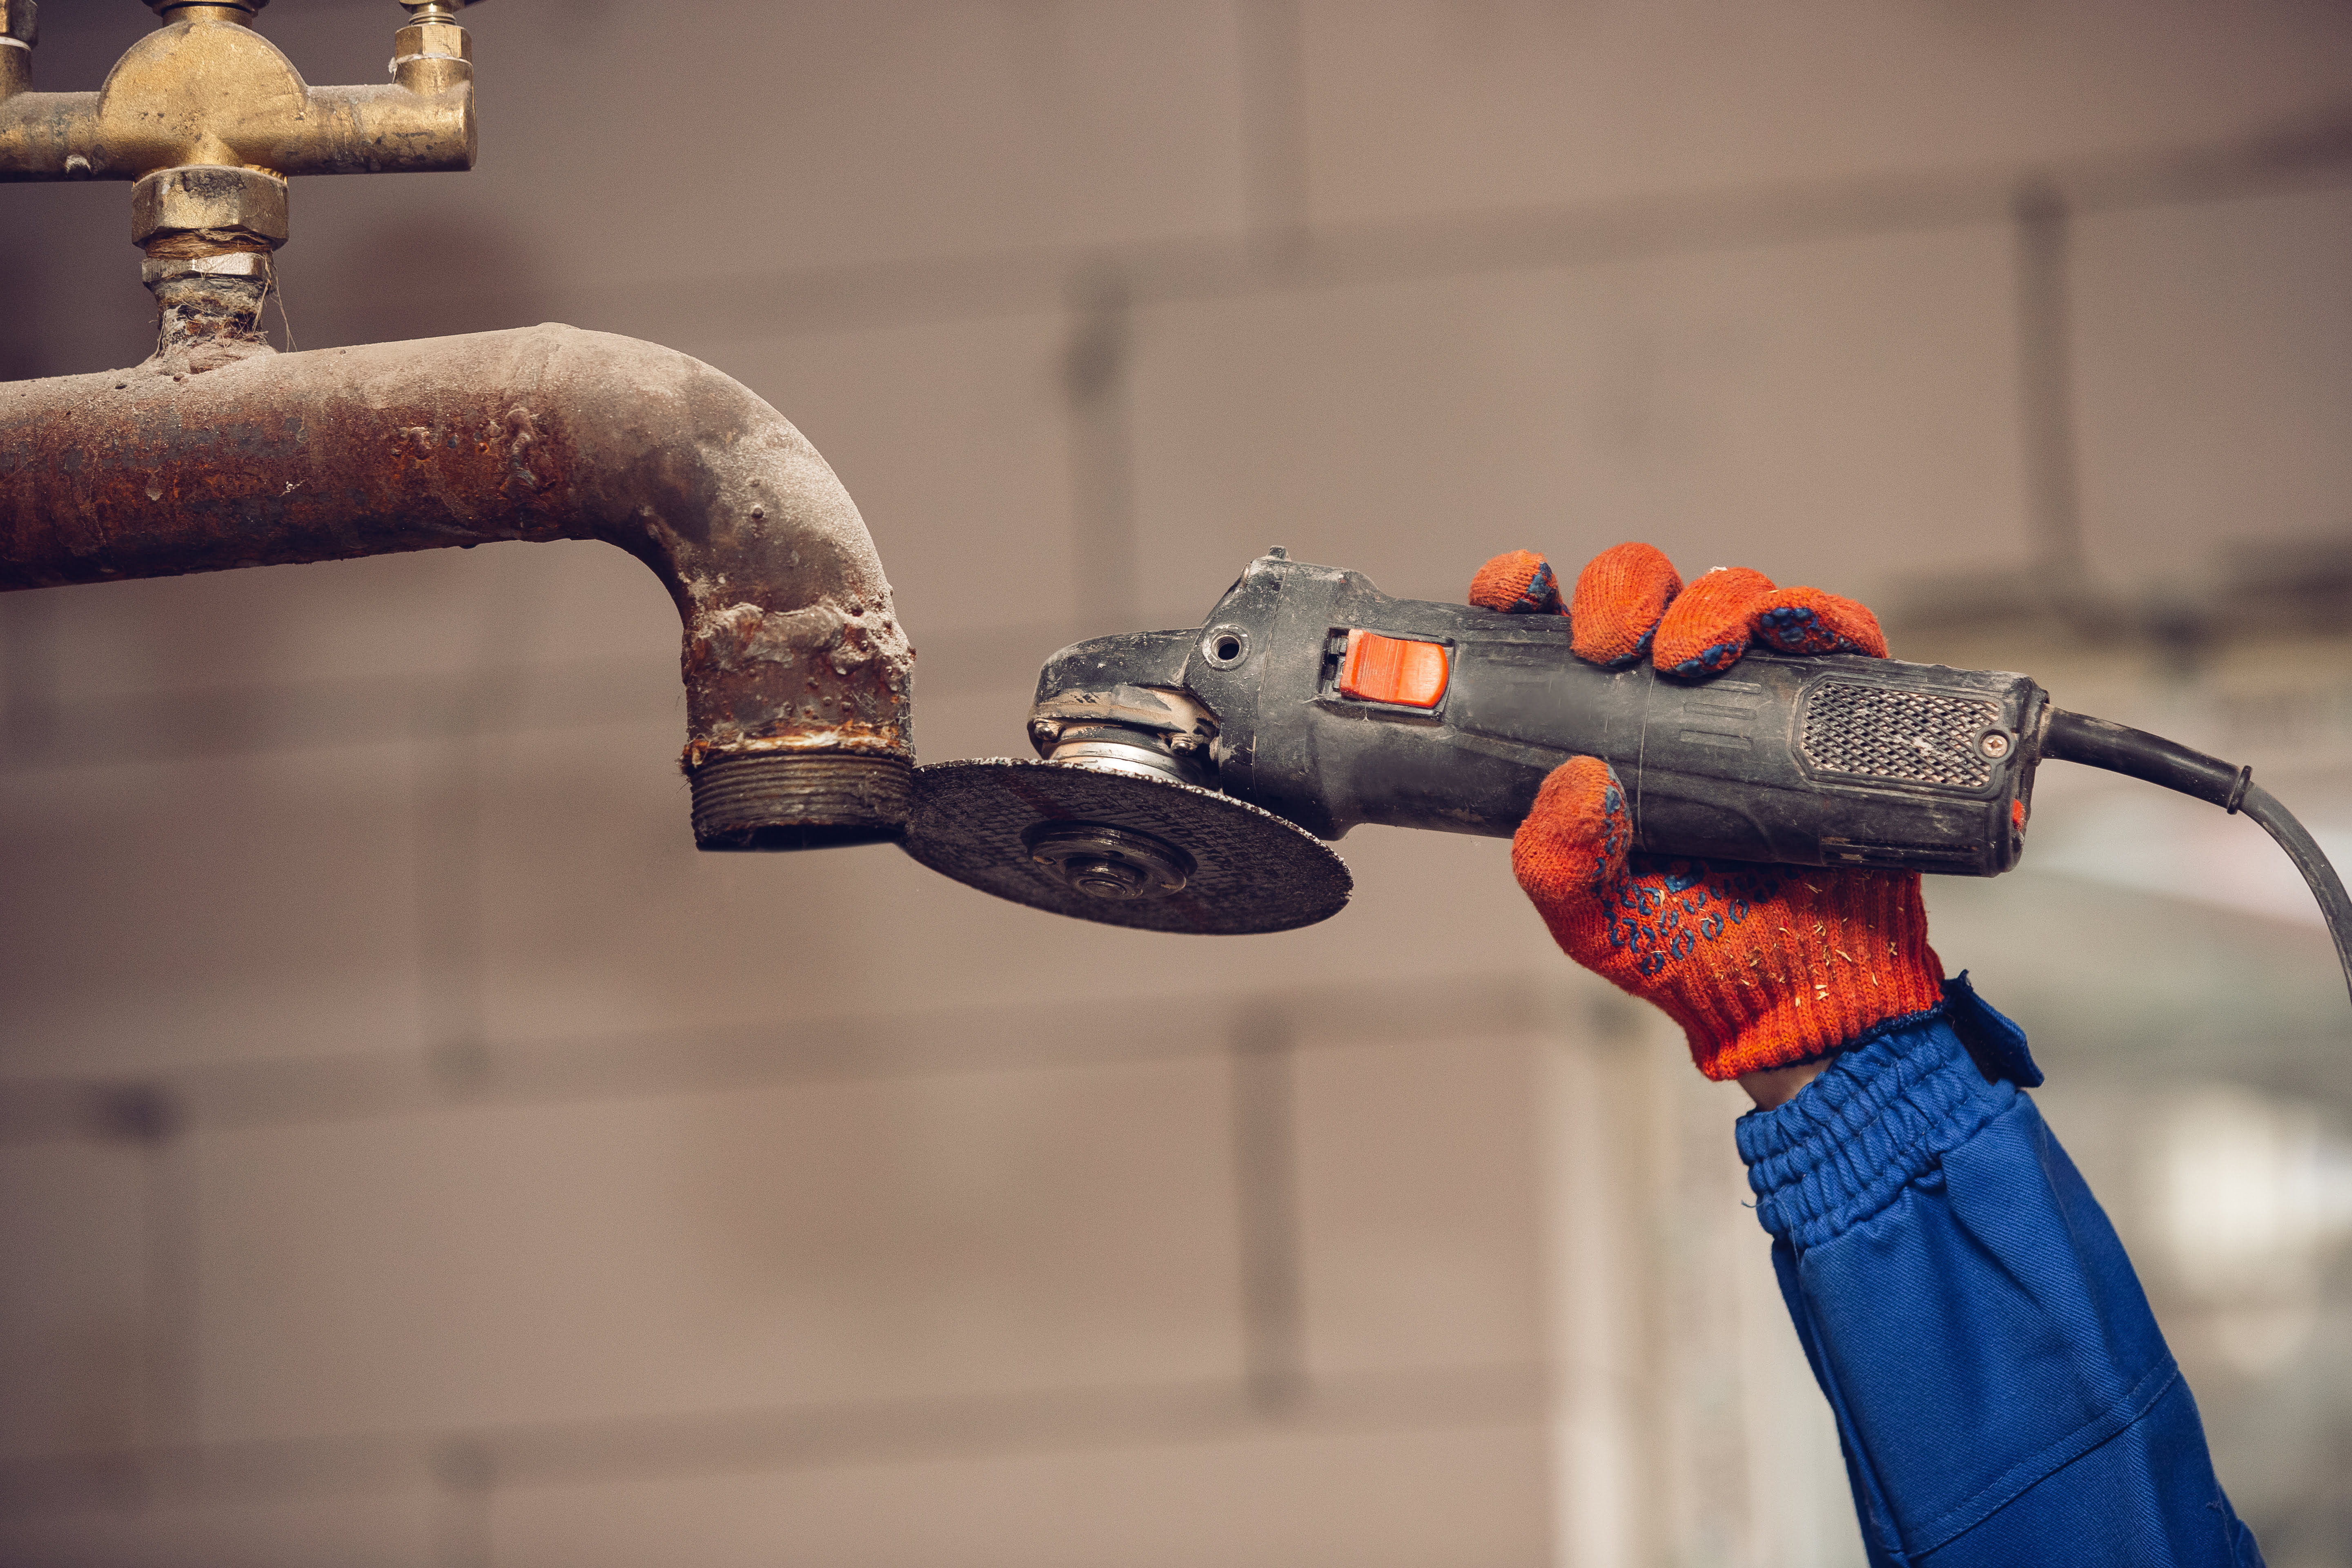
26 June 2024A dripping faucet or a leaking tap is annoying and an expensive defect for a plumbing part. Other than the annoying dripping that goes on continuously, you also have to pay a higher bill for all the water that is wasted. But don’t worry if your faulty faucet is causing you trouble; we will guide you through the process of fixing your faucet and saving you some money.
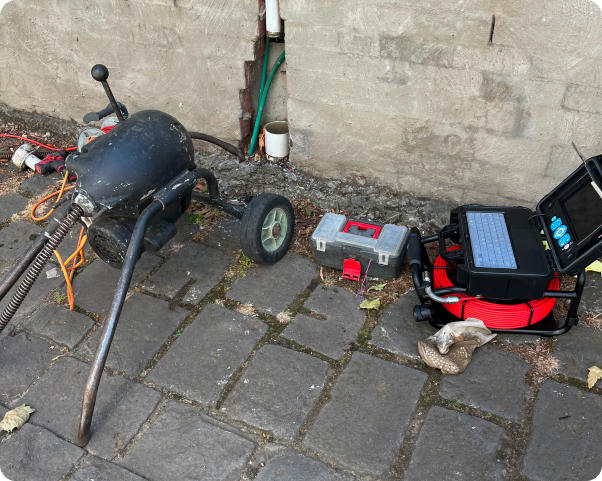
Leaking faucets might seem like a minor inconvenience, but they can have significant consequences. From wasted water and increased utility bills to potential water damage and mold growth, ignoring a leaky faucet can lead to bigger problems down the line. Taking prompt action will save you time, money, and unnecessary headaches with the help of plumbing services Melbourne.
Not everyone is a plumbing expert, which is why we’ve put together this easy-to-follow guide. We will break down the process of fixing a leaky faucet into simple steps, accompanied by expert tips to ensure a successful repair. To understand why your faucet is leaking or how to fix it, you must understand the anatomy of a faucet.
How does a faucet work?
A faucet is made up of several components that function together to dispense water:
- Handle: This is the part that you can adjust to control the flow of water.
- Spout: This is the nozzle that helps direct water out of the faucet or the leaking tap.
- Cartridge or valve: controls the flow of water and the temperature of the water flowing through the faucet.
- O-rings: They prevent water from leaking outside of the mechanical body around the handle.
- Washer: This part helps create a watertight seal when the water is turned off.
- Aerators: This is the screen present on the faucet that regulates water flow and reduces the chances of splashing.
- Inlet houses or pipes: This part connects the faucet to the water supply.
Now that you’ve understood the different parts that a faucet is made of, let’s discuss some of the most common types of leaks.
Common types of leaking taps or leaks in faucets and their causes
- Leak from the spout: The most common cause of a faulty washer is a worn rubber or a faulty cartridge.
- Leak in the handle: loose packing nuts and O-rings
- Water spraying or uneven flow: caused by a clogged aerator or mineral deposits
Minor leaks and defects can be repaired using the common tools that are found in all our homes.
Which tools are needed to repair minor leaks and defects in the faucets?
- Screwdriver
- Adjustable wrench
- Teflon tape
- Parts to replace
- A clean cloth or rag
- Penetrating oil
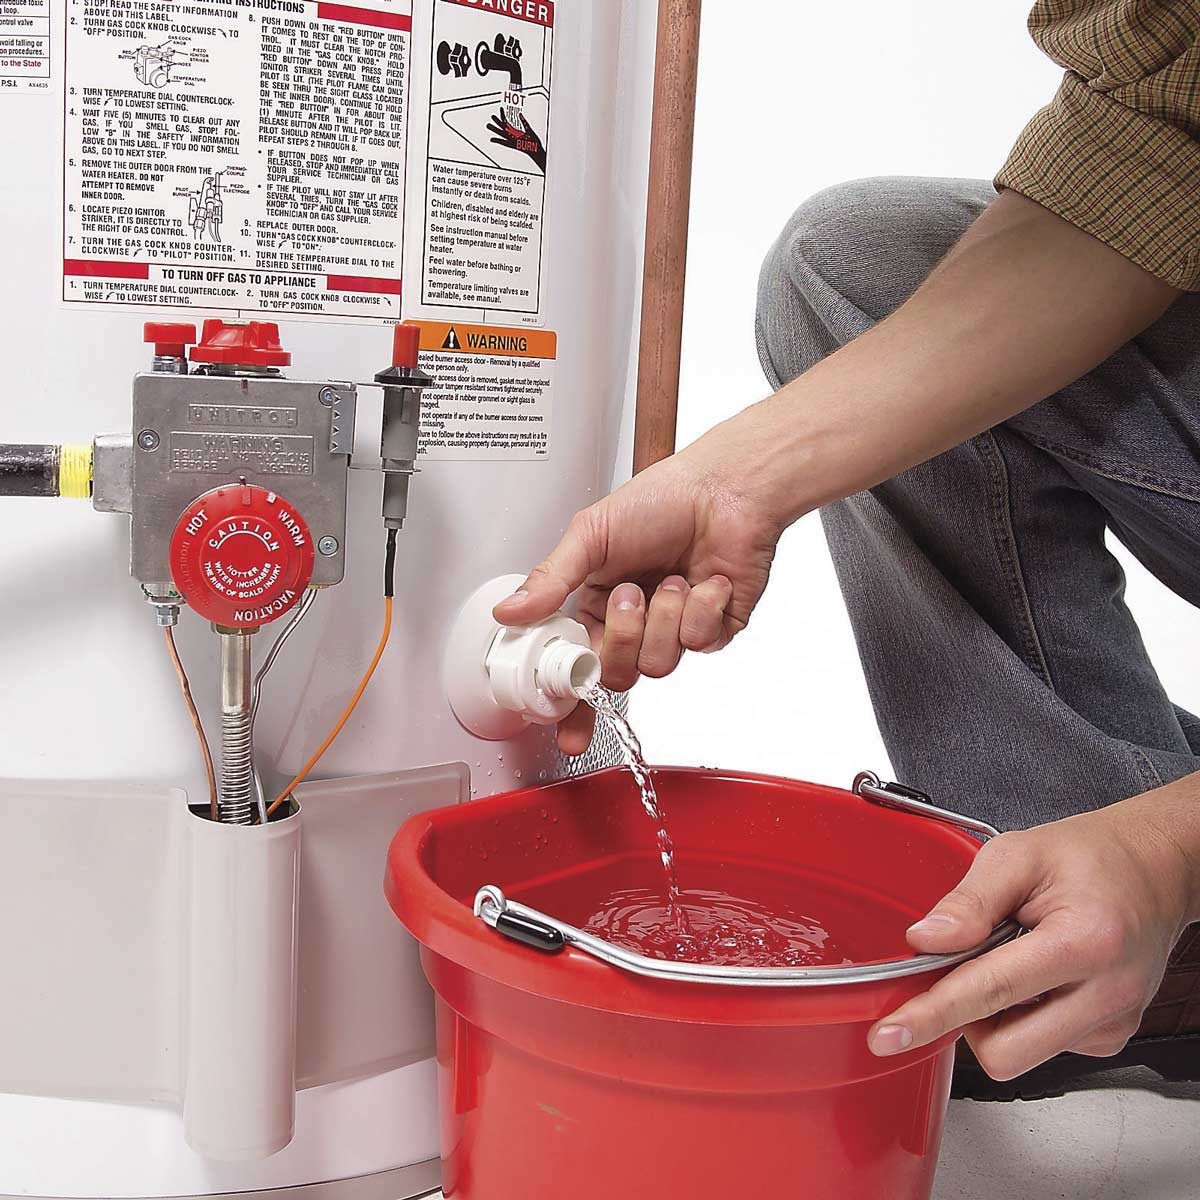
- Bucket or any container to store the water that will flow during the repair process.
- Toothbrush or any small brush to clean mineral deposits
The specific tools and materials required may vary depending on the type and brand of your faucet that plumbing services Melbourne use. It’s always a good idea to consult the manufacturer’s instructions or do some research to ensure you have the correct tools and replacement parts for your particular faucet model. Now that you understand the anatomy of a faucet and are familiar with the common issues that arise, let us look at some of the DIY solutions to leaking faucets.
How to fix a leaking faucet yourself
Step 1: Turn off the main water supply.
It is essential to not waste water during the fixing process, and the best way to do that is by turning off the water supply. Ensure that you turn it back on to release the remaining water and relieve any built-up pressure in the leaking tap.
Step 2: Understand the type of faucet used and the source of the leak.
The initial step is to identify the type of faucet that you own: a ball faucet, a cartridge faucet, or a ceramic disc faucet.
Step 3: Detach the faucet from its place and disassemble the faucet.
- Remove the cap on the handle, which is meant for decoration, in order to access the screw.
- Unscrew the handle with the help of a screwdriver and carefully remove it with the help of a wrench.
- Use pliers and an adjustable wrench to unscrew packing nuts and remove them carefully.
Step 4: Inspect all the components and replace the faulty parts with new ones or take the assistance of plumbing services Melbourne
- Examine the rubber washer, O-rings, and cartridge for wear, cracks, or damage.
- Replace any worn-out or damaged parts with suitable replacements.
- Clean mineral deposits or debris from the faucet components using a toothbrush or small brush.
- Apply plumber’s tape (Teflon tape) to the threaded parts of the faucet for a secure fit.
Step 5: Reassemble everything back in its place.
- Put the components back together and go in reverse order to make sure everything goes where it belongs.
- Ensure that all parts are aligned and tightened at the right place during assembly.
- Hand tightens the packing nut, handle, and decorative cap.
Step 6: Assemble everything and check again for leaking tap or faults.
- Slowly open the faucet and check that there are no valves to restore water flow to the faucet.
- Check for leaks around the spouts, handle, and base.
- If leaks persist, double-check the tightness of the components and inspect for any missed or damaged parts.
- Make any necessary adjustments or replacements until the faucet is leak-free.
There are certain common challenges to troubleshooting faucet repairs that might make the repair process challenging. Some of these challenges are listed below.
Common challenges that make faucet repair difficult
Low water pressure after repairing
- Check the aerator for clogs or mineral deposits. Remove it and clean it thoroughly.
- Ensure the water supply valves are fully open.
- Inspect the cartridge or valve for any blockages or debris. Clean or replace if necessary.
- Examine the inlet hoses or pipes for kinks or restrictions that may be affecting water flow. In case the problem persists, contact the plumbing services Melbourne.
Persistent leaks even after multiple repairs
- Double-check the tightness of all components, including the handle, packing nut, and cartridge.
- Ensure the O-rings, washers, and seals are properly seated and in good condition.
- Check for any cracks or damage to the faucet body that may be causing leaks.
- If the problem persists, consider replacing the entire faucet if it is old or irreparably damaged.
Noises, air gaps, and vibrations from the faucet
- Tighten any loose screws or fittings that may be causing vibrations.
- Check for loose pipes or connections that may be rattling. Secure them as needed.
- Inspect the water pressure regulator for any issues. Adjust or replace the leaking tap or faucet if necessary.
- If the noise is accompanied by hammering or banging sounds, it may indicate a water hammer. Install water hammer arrestors to alleviate the problem.
Fix that leaking faucet and save some money
Fixing a leaky faucet is a manageable task that can save you money, prevent water waste, and restore functionality to your plumbing fixtures. By taking action promptly, you demonstrate your ability to handle basic plumbing maintenance, empowering you to address other household plumbing issues that may arise in the future.
While many faucet repairs can be handled on your own, it’s crucial to recognize your limitations. If you encounter complex issues, persistent leaks, or feel uncomfortable with the repair process, it’s always wise to seek professional assistance from plumbing services Melbourne. Professional plumbers have the experience, expertise, and specialized tools to tackle more challenging problems. They can ensure the repair is done correctly, preventing further damage and potential complications.